
Feeling very Dr. Suess-ish with this titleI do love things that rhymeBut not as much as a cheap, old lampI can renovate in no time!
While I await my Pulitzer prize no doubt heading my way in the mail after that little ditty ('ditty'? I feel like a pirate, or some sort or medieval idiot carrying a lute...), let me fill you in on the latest addition to my bedroom - the revamped lamp!
Like countless other projects, I was prowling through Pintrest when I was inspired by the variety of beautiful and unique lighting options I could utilise in my bedroom which would follow its general theme (see my earlier wall hanging addition here ). I had an image in my mind about the kind of table lamp I was after but having spent hours looking online and in store I was still yet to find anything which came close to that ideal. The solution? DIY of course!
I spend quite a while looking through the various tutorial other bloggers have written regarding recovering old lamps (and believe me, there are LOTS!) and it all seemed pretty straightforward. So, several trips to spotlight and a dash to Target during my lunch break later, I was ready to get cracking on my new, fabulously forest-y lamp!
 |
| Ta-Daaaaa! |
In many cases you might have a perfectly good lamp base available but need to freshen up the shade, or vice-versa. However for this project I gave both halves a work over in just a few easy steps!
So, grab yourself a lamp base, an old shade and a sprinkle of imagination and lets make us a some lamp magic!

For the Lamp Base
I didn't have a spare base available that really had the look I was going for, they were all a bit sleek and metal-ly (is that I word? I don't care. Carry on).
Given that I wanted an older style base I thought I would have some luck scouring the Salvation Army stores and other 'thrift' stores but to no avail. Cue good old Target! I managed to pick up the perfect base on sale for about $10 and it was exactly what I was after. Hooray!
I was tempted to keep its original colour (a sort of ivory, off-white complexion) but in the end I decided a sleek black would tie in better with the rest of my decor, so out came the spray can!


As you can see in the picture above, I wasn't too keen on having any paint drip into the electrics of my lamp so I simply got some electrical tape and made sure both the top of the lamp and around the base cord were well wrapped and safe from any over spray. I also gave the base a quick hand-sanding so make sure the paint would have a good surface to stick to.
After that it was simply a matter of making sure my table was well covered (and in windy conditions that was not easy!) and spraying away. Make sure you use long, even strokes otherwise you can end up with uneven coverage and be prepared to give it a couple of coats to make sure all the nooks and crannies are covered.


That's it! Leave it to dry completely and then peel off the electrical tape and its ready to roll! But no one like a naked lamp, so we had best give it some clothes and find it a shade!
For the Shade
Unfortunately I didn't get as many photos as I probably should have when making the shade, so I shall attempt to frame my words in a way that conjures images before your very eyes, no photos required!
Though it takes a little longer than the lamp base, revamping an existing shade is really a straightforward exercise. If you are still having trouble after reading my coming words of wisdom, check out the tutorial by PrettyHandyGirl here, I love this blog and found this tutorial particularly helpful.
So, to do this you will need:
- An old lamp shade
- Material (large enough to cover the shade)
- Spray fabric glue
- Pencil
- Scissors
- Fabric paint (optional!)
First off you need to lay out your material and place the shade on its side on the material. It will help if you have the shade with the seam downwards as this provides a clear start and end point for the next bit.
Holding your pencil against the top of the shade, trace the shape of the shade by rolling it across the fabric until it returns to having the seam at the bottom, leaving you with a sort of semi-circle.
Without lifting the shade from the material, move the pencil to the bottom of the frame and foll it back across the fabric to where it started, tracing the bottom of it as you go.
All going according to plan, the material should have two curved lines parallel to one another, the bottom being slightly larger than the top one. Got that? Good.
Okay so this is the basic shape of the cover for your shade. Simply cut it out, and wrap it around the shade to make sure it is a snug fit.
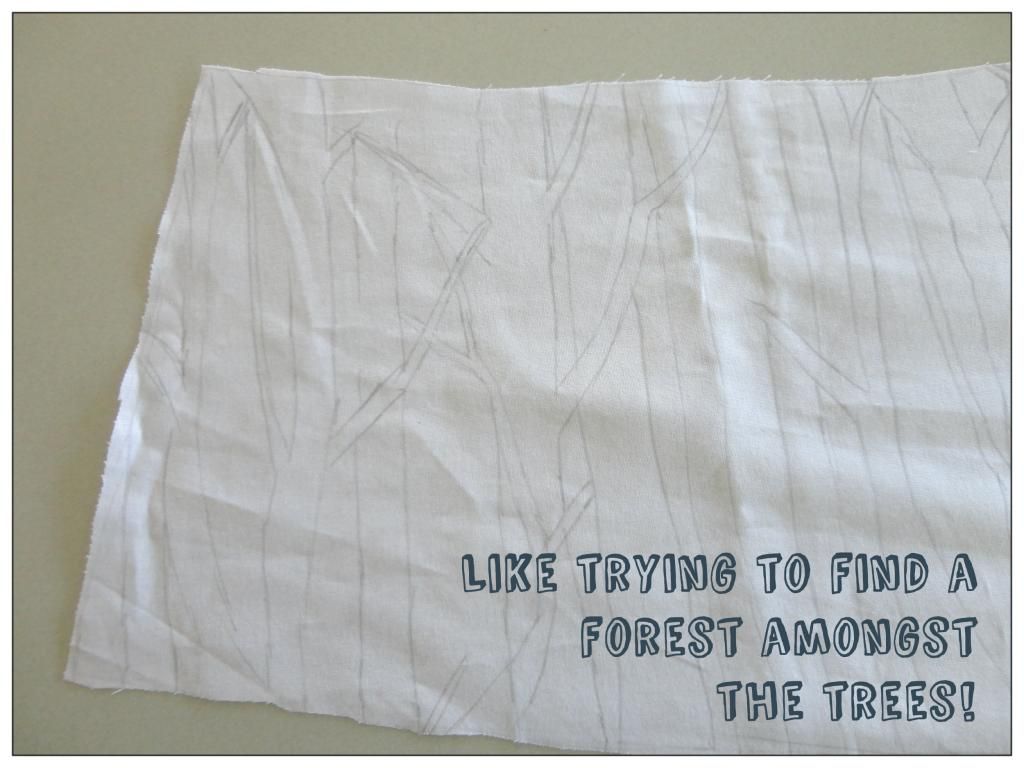
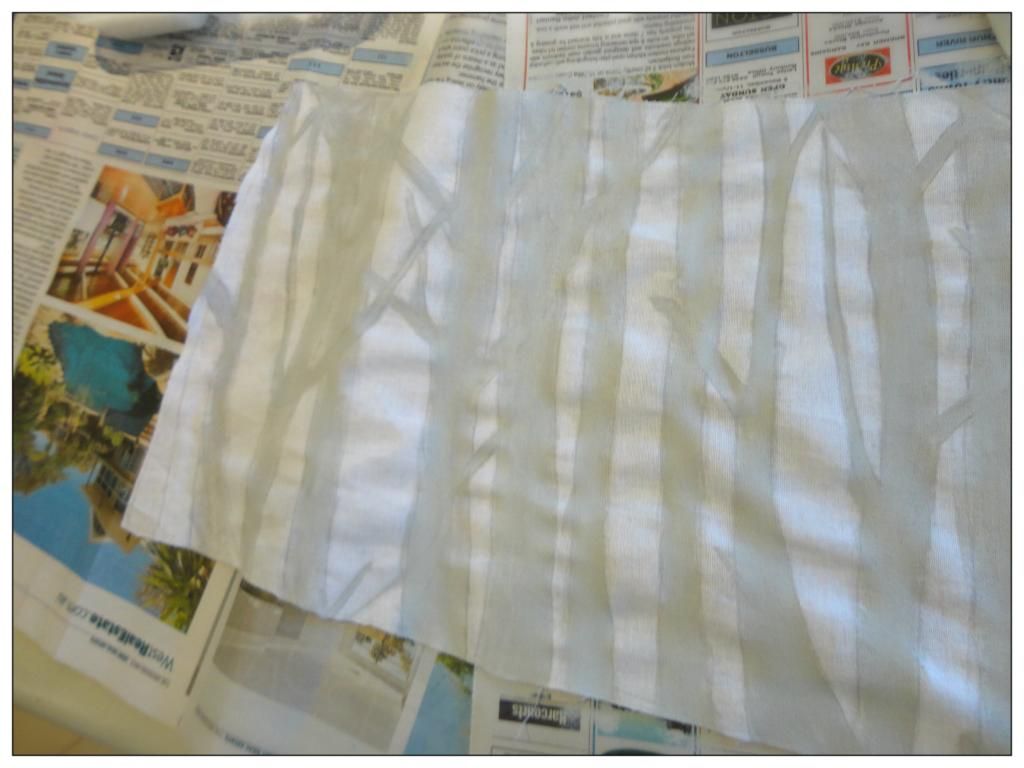
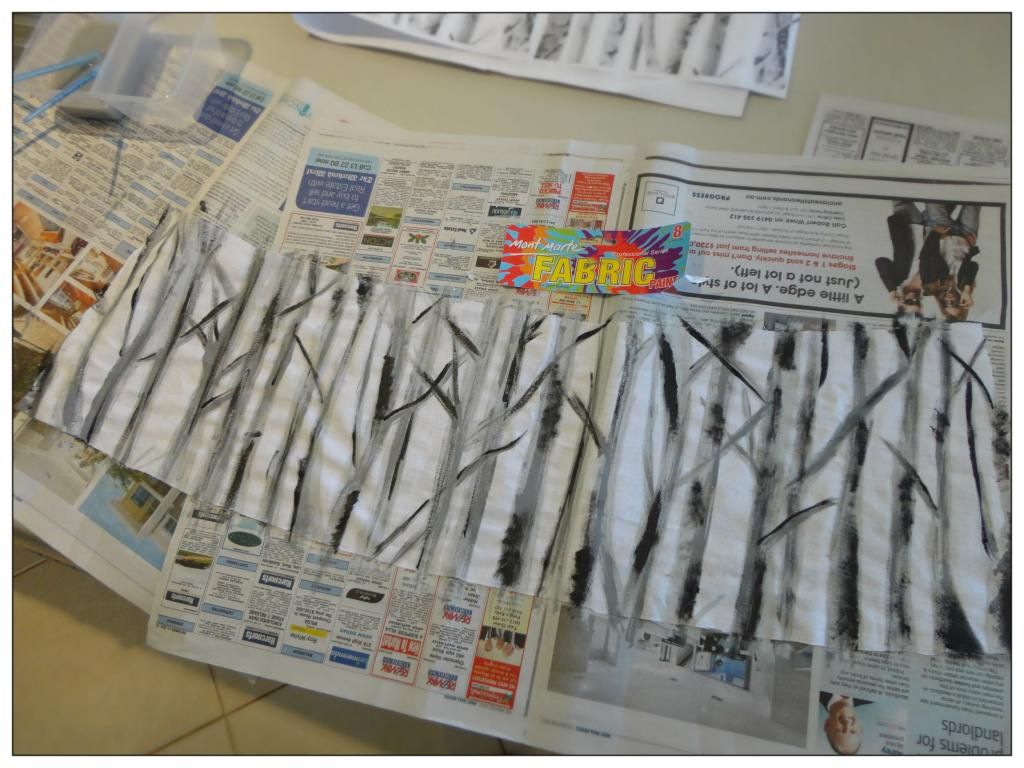
Not being able to find the perfect patterned material I was after, for my lamp I had a go at painting on my own design using basic fabric paint. Simple enough and it allows you to customise the look to exactly what you are after!
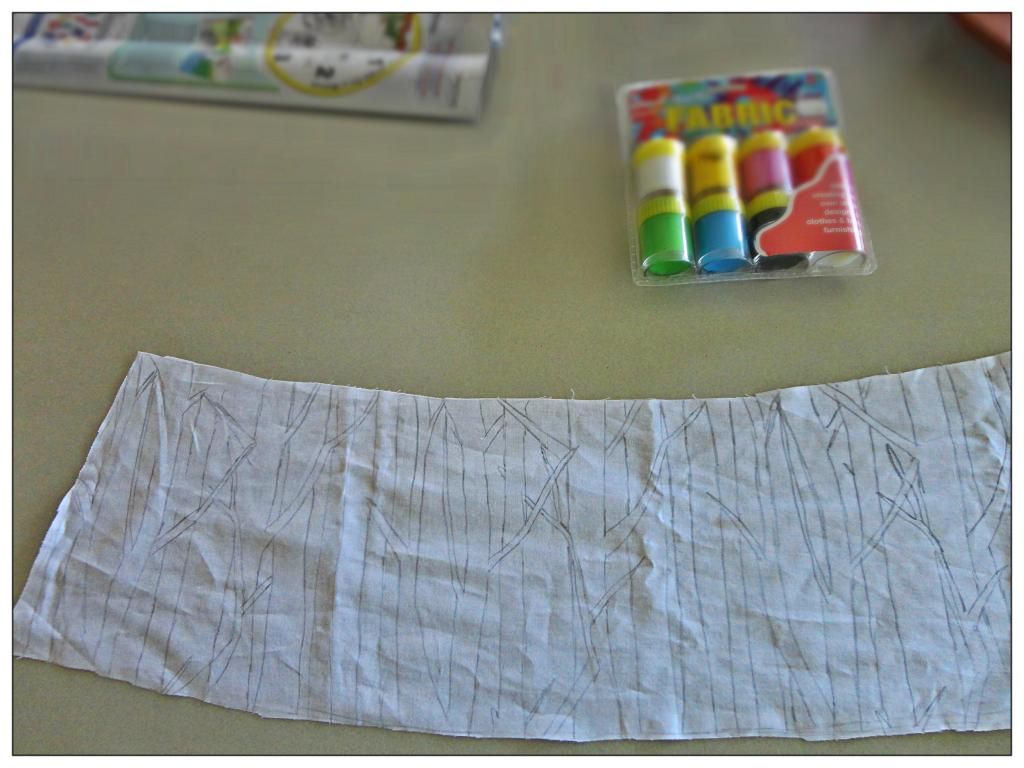
Continuing with my forest-inspired look I drew a pattern of trees across the fabric which was a plain white.


With your desire shade covering cut out and ready to go, simply lay it out flat facing downwards (so in my case the unpainted side of the fabric was exposed) and spray it with your fabric spray adhesive (picked mine up at, you guessed it, Spotlight, for about $7).
Spray the outside of the shade as well to ensure it will hold and carefully (please try not to get yourself stuck to anything!) place the shade on one end of the fabric and roll it so that the the shade get covered in its new clothes. Make sure you use one hand to hold the fabric taught when rolling or have someone help you so you don't end up with creases in the fabric.
If there is any overhang at the top or bottom fold it into the inside of the shade and use the adhesive already sprayed on the fabric to stick it to the inside, out of sight and giving you a neat finish.
There you have it. Simply stick your fabulous new shade only your equally fabulous new lamp base and you have yourself one pretty darn uber-fabulous lamp!

No comments:
Post a Comment