
For my 21st birthday my grandparents bought me a pretty, shiny and rather wonderful sewing machine, no doubt hoping I will use it to make dresses and outfits for a hoard of future grandchildren (my family is nothing if not practical... but don't your breath for those grand kids Nanna!).
Since then it has remained tucked snug in its box, only venturing out when I decided to experiment with its different settings, pre-programmed stitch styles etc. by making a couple of wheat bags... I must really get around to finishing them!
However, in the spirit of beautify-ing my Mum's spare bedroom I decided to whip out my machine and attempt to make some cushions for the bed... and I have to say I'm pretty pleased with how they turned out!

As far as sewing goes - I have no real clue what I am doing! This is why this project is so perfect for beginners. All it requires is sewing a couple of straight lines, and if your going for a more rugged look you can even be forgiven for being a bit wonky!
I decided to decorate my cushions by painting them with fabric paint (you can find these in a variety of colours at most art and craft stores) which is really fun stuff because you can put your own designs on clothes, curtains, sheets, cushions etc. and it wont come off in the wash! Ohhhh the possibilities!
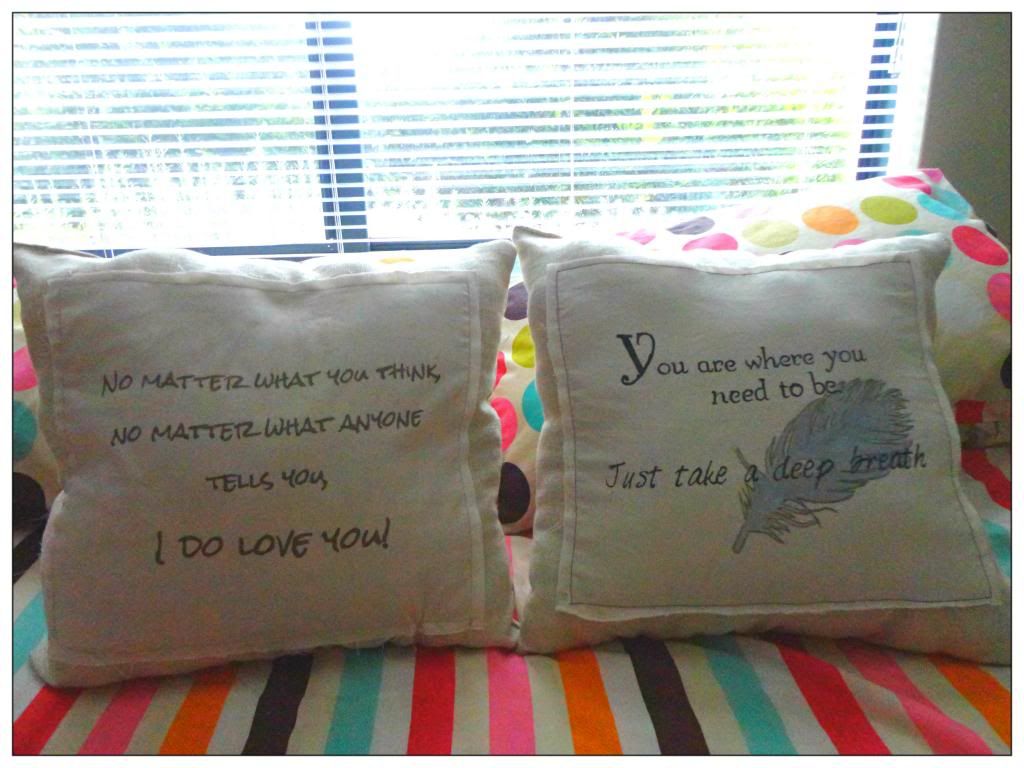
Since I love adding personal touches to everything I make for these cushions I decided to adorn them with two specific quotes - one from a show my Mum and I religiously watch together as our own corny little version of 'us time' and another which is from my favourite actress and always makes me feel a little better when I'm feeling stressed or upset! Hopefully they have the same effect on whoever is sleeping with them! Either way, I think little personal touches like these really make a project that little bit more special ....


For this simple square cushion you will need:
- Fabric of your choice
- Scissors
- Sewing Machine
- Sewing thread (for the machine)
- Stuffing
- Fabric Paint *optional*
Step 1. Prepare Your Fabric
Start by choosing the fabric you want to use and the size you want your cushion to be and then cut the fabric so that it twice as long as it is wide (this will allow you to fold it over and save sewing a fourth side).
Make sure you cut the fabric a couple of centimetres larger than the desired final size so you have room for sewing and to allow for eventual stuffing! Soooo if you wanted your cushions to be 30cm x 30cm you would cut the fabric approx 33cm x 66cm.
Step 2. *Optional Decorations*
If you want to decorate your cushions as I did it is very simple-but effective!
I simply chose a piece of fabric which complimented the tone of my primary material and cut it into a square slightly smaller than the face of the cushion - then it was time to get busy with the fabric paints!
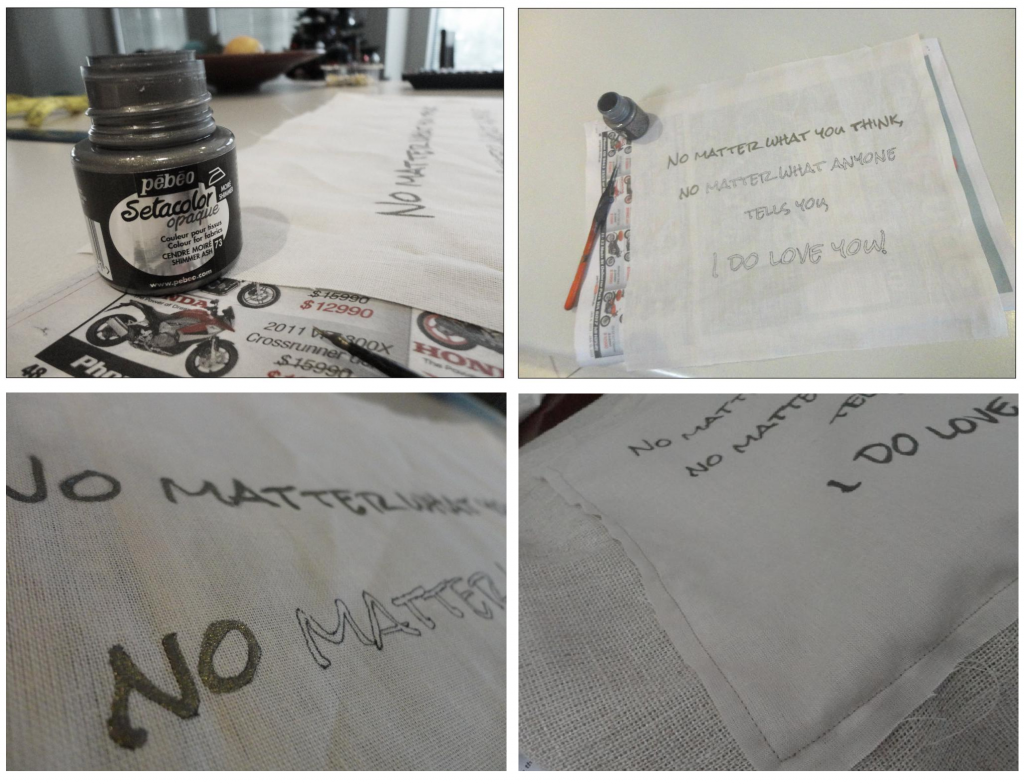
I found a font I liked on my computer and printed off my wording then used a pencil to trace the lettering onto my fabric. After that it was a simple matter of painting over the words in my fabric paint (and adding a pretty feather to one cushion... just because I like feathers!)
Let the paint dry fully and follow the makers instructions on how to set it so that it is wash proof (most simply requiring a couple of minutes of ironing) and then sew the fabric onto the cushion material which will eventually be the front of the cushion.
BAM! Instant cute-ification!
 Step 3. Sew Time!
Pretty self-explanatory... a cushion is just a plain piece of fabric until you add some stitching!
With sewing machines these days the sewing is really the easy part - simply make sure your machine is threaded and lay your fabric out so that the front of the cushion is facing upwards.
Fold over the top long side so that you have your square shape (at this stage if the sides were all stitched together the cushion would be inside out).
Making sure your sides are aligned, sew two of the edges completely and on the third and final edge stop about 10cm from the end and invert the case using that hole.
Step 3. Stuff It
No, I'm not being rude, I mean this quite literally.
Take some craft stuffing and fill your cushion to the desired density, making sure to push the stuffing right into the corners fluffing it as you go to make sure it is evenly filled without lumps.
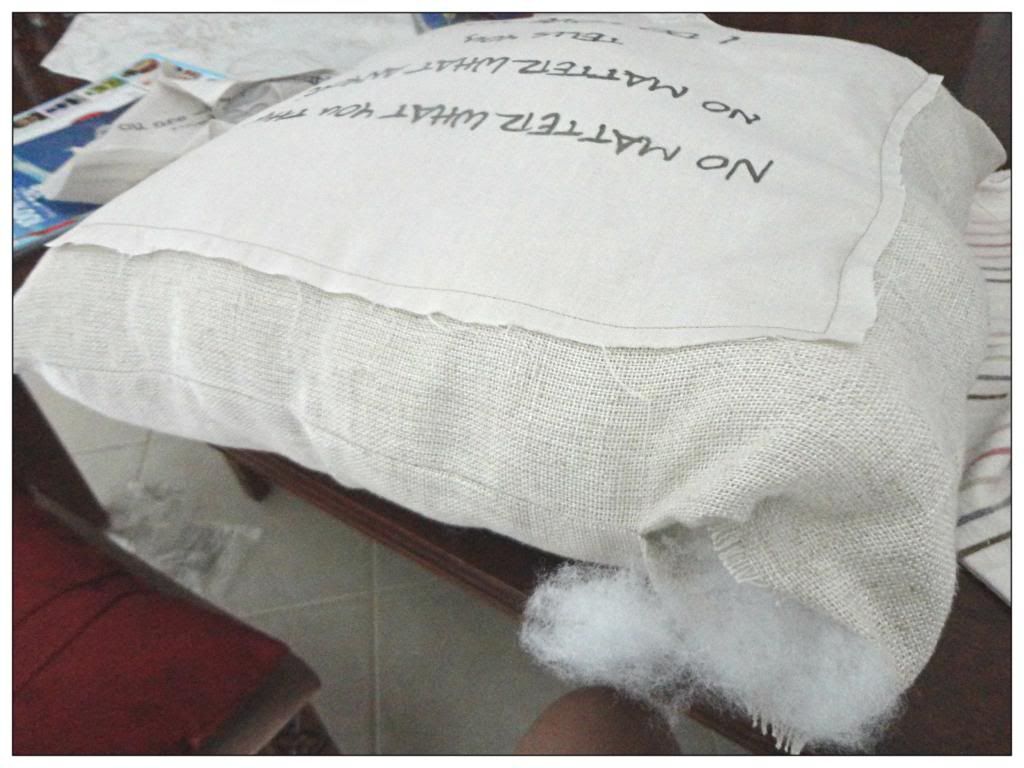
Then its a simply matter of using your sewing machine to stitch up that ~10cm hole and Voila!
After a few simple steps you are left with some pretty darn fabulous cushions to brighten up any room!
This comment has been removed by a blog administrator.
ReplyDeleteThis comment has been removed by the author.
ReplyDelete