So here we have possible the easiest, quickest and most basic means of redocrating, yet also one of the most effective (in this blogger's humble opinon!). Got an piece of furnature or decor that needs some new life shoved non-too gently up its behind? About ready to pull the plug, read the last rights and start eyeing off new pieces of wall-candy after an appropriate mourning period has passed? Stop right there! Or here... whatever, just keep reading....
So I am slowly giving my room a wee bit of a makeover, inspired by my love of the show Once Upon A Time - THIS office in particular!
 |
| Best set on TV! |
 |
| Once Upon A Time Set Decorator Mark Lane |
Anywho...
Since falling in love with the use of blacks, whites and datmask patterns I decided to give my room a bit of a revamp based on this look, albiet with a more 'enchanted forest' vibe about it. I have gradually been putting together various bits and the whole look is
slowly coming together, helped immensely by my new wall decor made by taking old, worn looking frames and giving them a coat of new loving (otherwise known as paint...)!
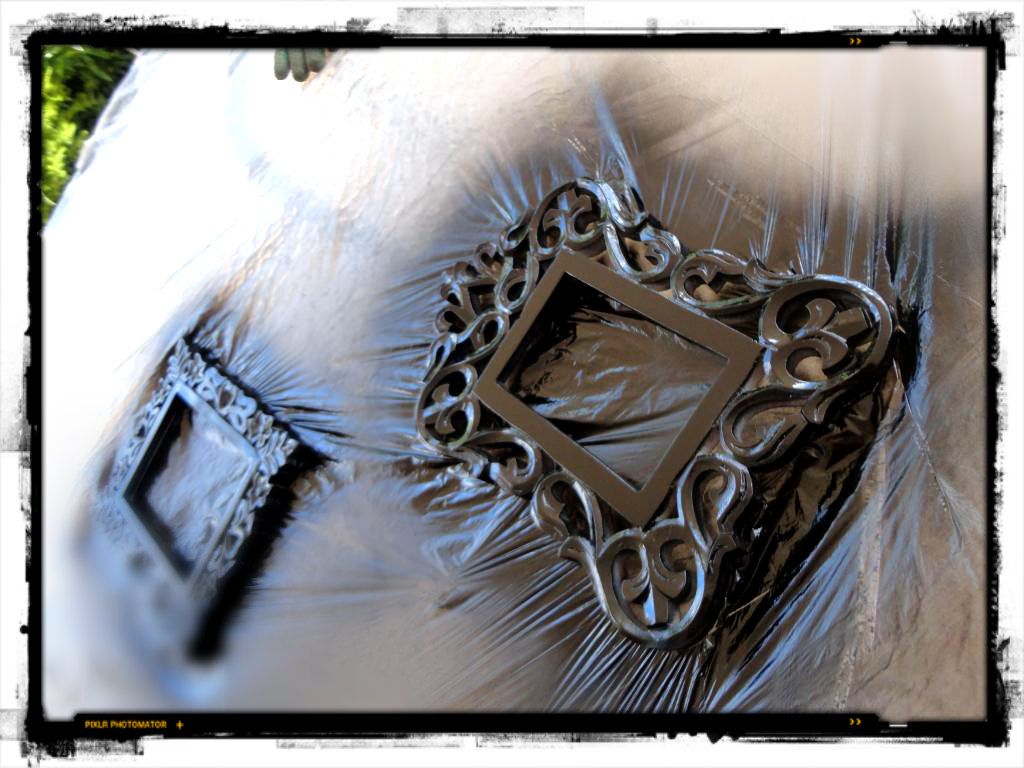
I love the carved frames, the dramatic look and the shiny black coating which perfectly matches the other bits and pieces now tastefully (to some!) scattered throughout my room! As an added bonus, not only were they incredibly easy to make but were also really cheap.
Revamped Picture Frames 101
This is so easy you really don't need many instructions... just a little common sense!
1. Cover a large table with plastic or newspaper
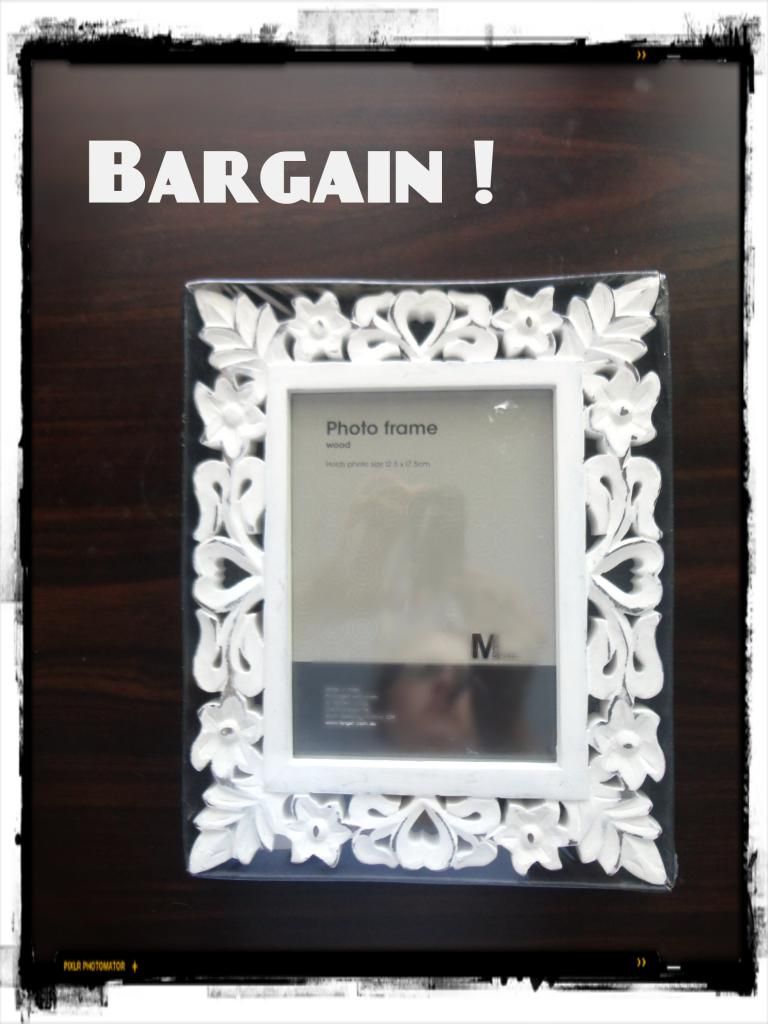
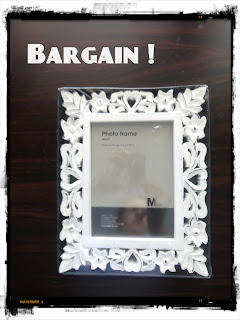 2. Get yourself some old picture frames - I found mine on clearance sale at Target for just a couple of dollars each! Yay for money saving!
 3. Give said frames a quick wipe down to remove any excess dirt and lightly sand them (this will help ensure the paint sticks well but really, i'm sure you could skip this and it will still work out fine!)
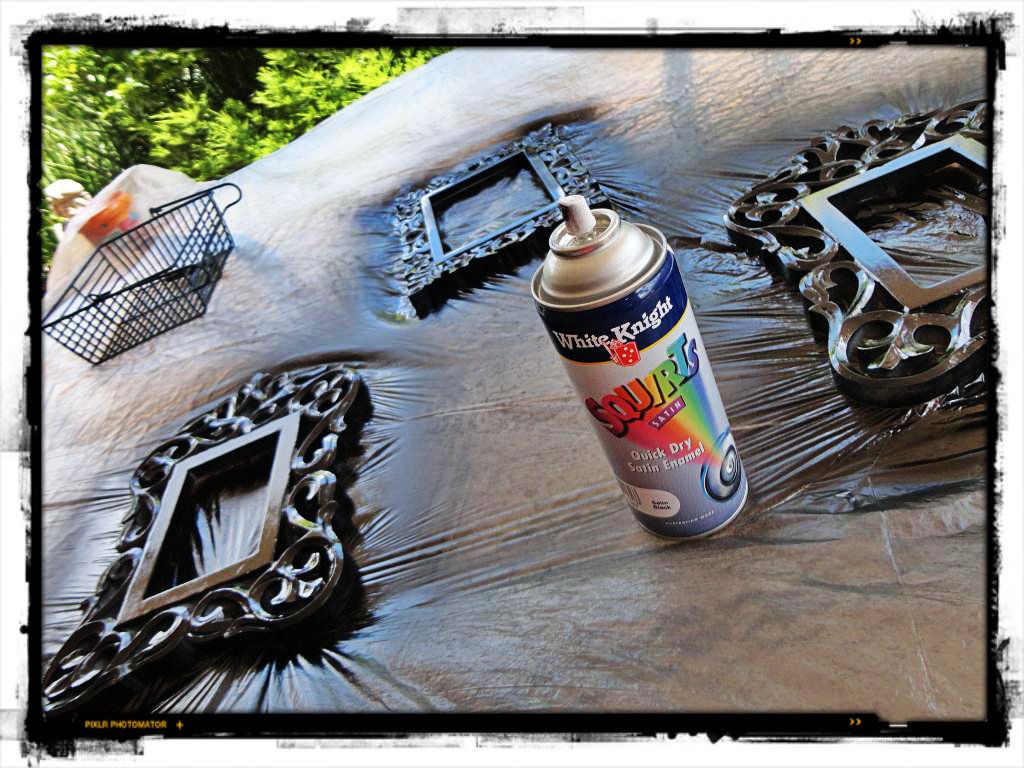
4. Get youself a glossy enamel spray paint in your chosen colour (I picken mine up from Bunnings for about $7 and was left with PLENTY to spare for latter projects!)
5. Spray the be-jesus out of them! Make sure you get in all the nooks and crannies that will be visible later and you may want to apply a couple of coates depending on the look you are after - just leave it to dry for a little bit in between each coat)
6. Leave them to dry completely
3. Give said frames a quick wipe down to remove any excess dirt and lightly sand them (this will help ensure the paint sticks well but really, i'm sure you could skip this and it will still work out fine!)
4. Get youself a glossy enamel spray paint in your chosen colour (I picken mine up from Bunnings for about $7 and was left with PLENTY to spare for latter projects!)
5. Spray the be-jesus out of them! Make sure you get in all the nooks and crannies that will be visible later and you may want to apply a couple of coates depending on the look you are after - just leave it to dry for a little bit in between each coat)
6. Leave them to dry completely (don't be impatient like me and go poking them... they will leave fingerprint evidence!)
7. Put a pretty picture in them or leave them empty, your choice! Just stick them around and let them bask in their glossy awesomness!
xo